Your home might feature a fireplace and, of course, a chimney, and if so, the most important thing that you could do as a homeowner is to make sure that these two things are maintained at least once a year. So, if you climbed up your roof and noticed that there are some problems with your chimney, such as holes, you must fix it right away, since if not, a fire could easily break out.
But, chimney repair services can be quite expensive, which is why you might be wondering – are there some repairs that I can do by myself? To put it simply, there are, and the article below will shed some light on the entire topic. Let’s take a closer look at a list of 5 chimney repairs that you could do by yourself:
Issue 01: Large Holes Forming Around The Chimney’s Surface
Source: environmentalchimneyservice.com
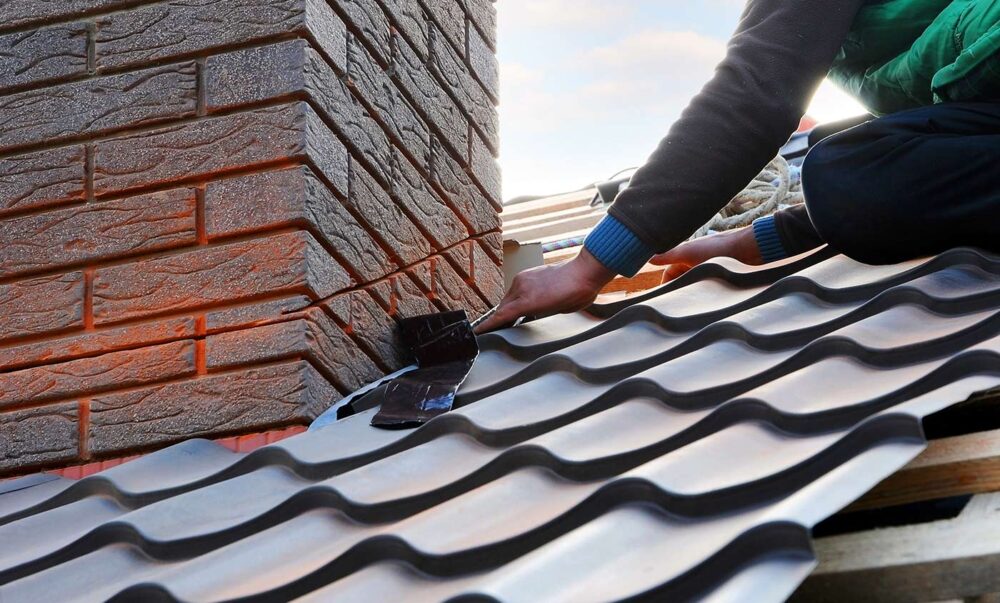
The very first thing that you should know about cracks is that they are considered a fire hazard by the National Fire Protection Association or NFPA for short. This problem can appear due to a wide range of factors, however, the most frequent one is the smoke that is emitted when it is being utilized. The smoke you see when you use your fireplace carries fire particles that can build up over time and they do end up creating holes. Keep in mind, these are usually carbon residues that are flammable.
Don’t worry, you could fix the blocks by using a caulk gun and a high-heat mortar. For starters, you should utilize the end of a putty knife to scrape out the clefts and once you do, you should then sweep them with a wire brush. Next, press the high-heat mortar into it and it shouldn’t extend too far unless it is really big. If there is excess mortar, you can wipe it with your glove or with an old rag.
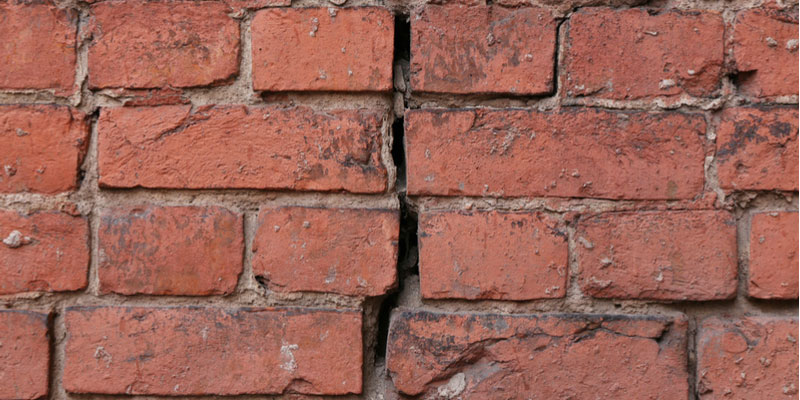
Issue 02: Old Brick Mortar That’s Falling Out
Source: fullservicechimney.com
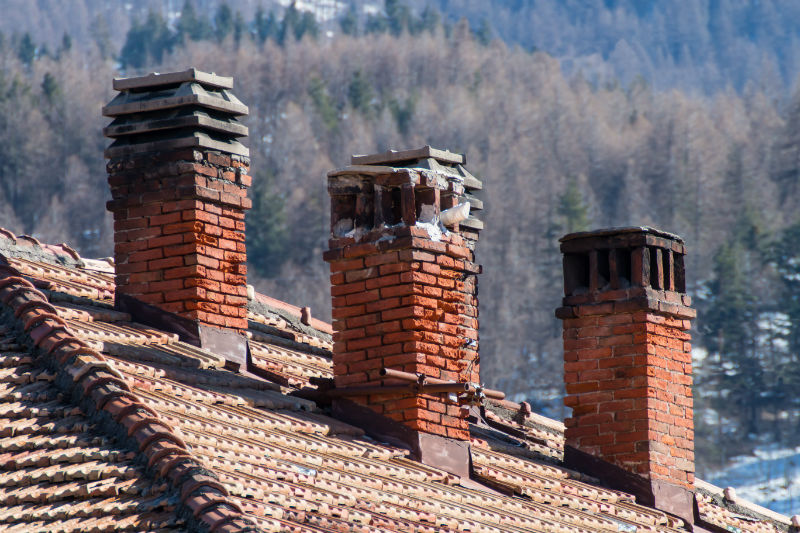
As you know, mortar is what holds the bricks together, and once it gets old due to the weather or heat, it could crumble. If you noticed this happening, you’d have to repoint the mortar, which means that you’ll have to scrap it out and replace it with a new one. You could use a joint taker for scraping it out and if some of the mortar is persistent, gently tap it with a chisel and hammer. Again, use a wire brush to scrub the lines out.
You should utilize a hose to wash the surfaces and then allow them to dry completely. While it is drying, you could mix a batch of mortar and, with a pointing trowel, press it into the open joints between the blocks. You should also smooth down the surface with a tuckpointing tool. Keep in mind, the joints should be a little bit recessed from the surfaces of the bricks since this will allow them to last for a longer time.
Issues 03: Completely Destroyed Blocks

Source: allstarchimneysweeps.com
If there are some badly damaged bricks, they’ll have to be completely removed and replaced. Now, it is possible for you to remove a single block and replace it, however, if you’re not confident in your skills, you could choose to hire an experienced chimney repair company such as doctorchimney.com. But, if you want to do it by yourself, you’ll need a chisel to slowly eliminate the mortar between the blocks. Next, you have to utilize a drill and bit to create holes into the mortar since this will make the process faster.
Once you loosen up the stone, pull it out and use a chisel to remove the mortar that has been left. By using a trowel, place new mortar onto the two sides of the new brick, and don’t forget, don’t include the back and front. Simply push the new one into the place, centering it so that the edges are equal in width. Lastly, discard any excess residue, and by using a rag or glove, smooth out the surfaces.
Issue 04: Shattered Hairlines That Can Easily Spread
Source: turnbullmasonry.com
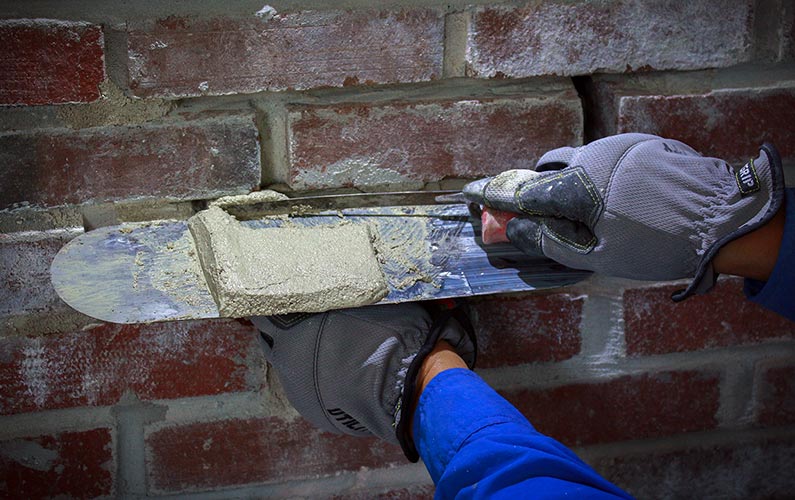
Hairlines, or as they are also commonly referred to as spider cracks, are dealt with in a different way than the aforementioned brick holes, mostly because the mortar is too dense to fit into the smaller areas. Because of this, you’ll have to use a water repellent that is extremely liquid, hence, it is capable of penetrating the hairlines breaks. Additionally, by using this product, it’ll seal up all the other areas in the crown, which means that it’ll prevent any other cracks from occurring in the future.
When dealing with this particular issue, you’ll have to be quite gentle. To start the process, use the corner of a putty knife to remove any loose substances, however, you must make sure that you don’t make them larger than they already are. Once you’re done, use a water repellent – without diluting it – and apply it with a brush of your choosing. It’ll take approximately a gallon for applying two layers of the water repellent.
Issues 05: Shattered Chimney Crown
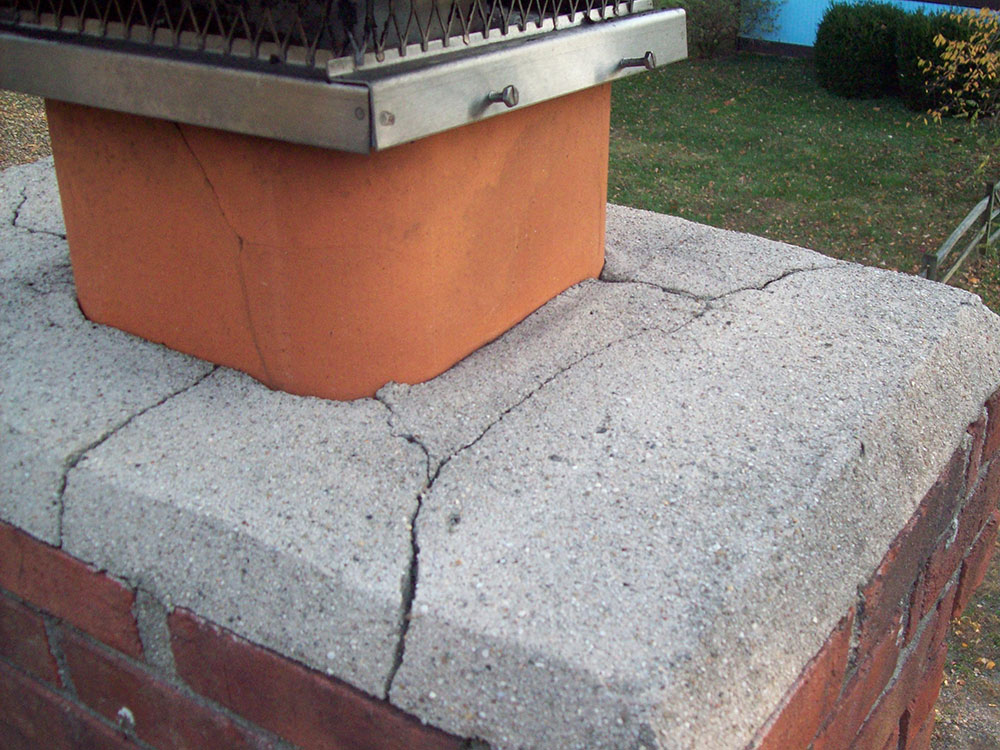
Source: chimneyrx.com
The purpose of the crown on your chimney is to protect the bricks below and it’ll also prevent water from entering it. If there are some holes in it, you should know that they’re more dangerous, mostly because water, ice, snow, and debris could gather there. It is extremely important for you to fix this issue, mostly because it can end up destroying the entire structure. Luckily, this is something that you can fix.
By using a cement patch or mortar, inject the mixture into the crack and gently squeeze the bottle, or you could force the mixture into the cracks with a putty knife. Keep in mind, it’ll need approximately five to seven hours to dry out, however, if the cracks were deeper and larger, it might take even longer. Again, if you’re unsure about your masonry skills, it is always best to hire a professional company that’ll help you.
Conclusion
Although a lot of people think that it is extremely difficult to repair their chimneys, there are some projects that they could do by themselves. And, if you choose to follow some or most of the advice in our list above, you’ll be capable of fixing your chimney, but more importantly, you can ensure that it isn’t a fire hazard.
So, now that you’re aware of what repairs you could do without the help from a professional organization, you might not want to waste any more of your free time. Instead, if you noticed some of the aforementioned issues, you should gather all the tools and equipment you’ll need, and start getting your chimney and fireplace ready for some colder days.